
Carving Windmill Blades
A brief step by step overview


How to carve windmill blades using hardware store lumber
The very first thing to do is to determine if you have sufficient and steady enough wind to justify an effort. This is usually done with a year long wind study using an anemometer and data recording software.
Once you have determined that there is justification in putting up a windmill, the next step is to pick an appropriate site for your windmill. You wouldn’t want to put solar panels in the shade, and the same thinking applies to windmills in that you wouldn’t want to place your windmill where it is blocked from the wind or sits in a turbulent zone from something upwind. Doing so just robs you of potential power before you even start.
Tower and supports are really beyond the scope of this short article, but sufice it to say that everything needs to be VERY sturdy to handle your expected wind loads, and windmill sizing / power. Check your local laws and ordinances to see if there are restrictions on windmills, tower height, etc…
Windmill blades size has to do with the expected power rating and speed of the generator attached to the blades. Bigger blade sets run slower but catch a greater share of the wind - hence more power - and smaller sets run faster rpm (think figure skater), but the power available is reduced substantially. So if you have a generator in mind that needs a certain RPM to output power at its rated capacity, you will either need to size the blade set to spin at the given RPM in your average windspeed for your locale, or figure out some sort of gearing (beyond the scope of this article).
Part of what determines the speed of a blade set is the Tip Speed Ratio (TSR), or in general terms, the angle the wind hits the front (flat) part of the blade at the tip (where most of the power is produced) at the rated speed. Yep there is some math involved to figure this all out, So please see Dan Bartman and Dan Fink’s fine book - Homebrew wind turbines for all the details that I have skipped over.
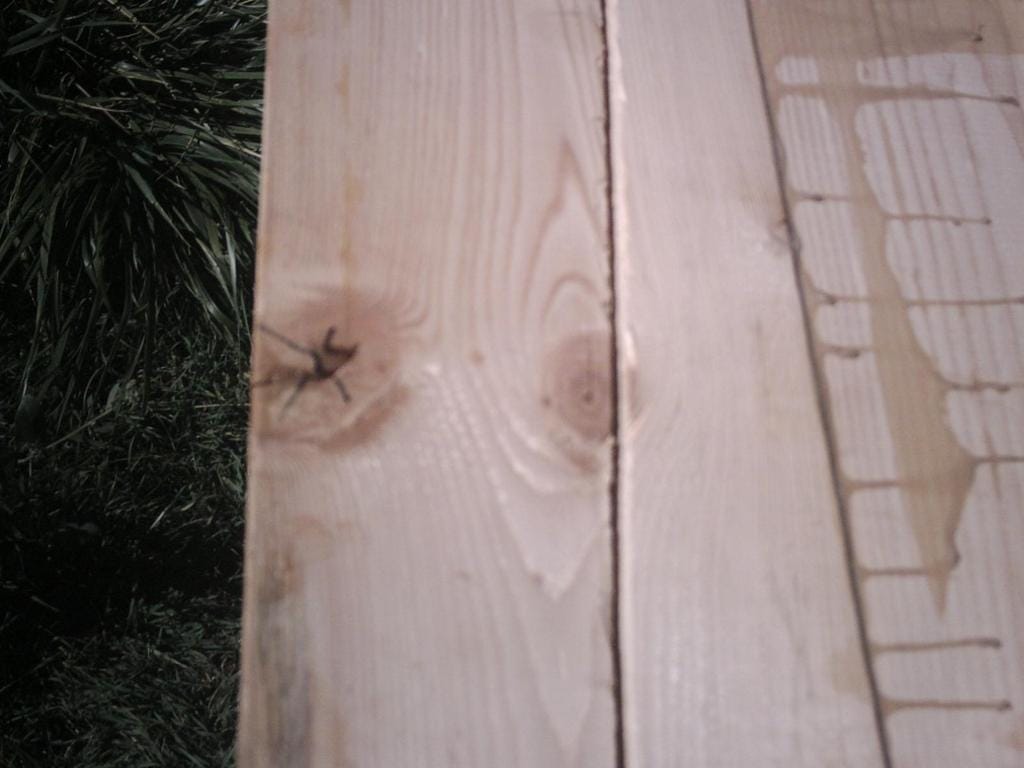
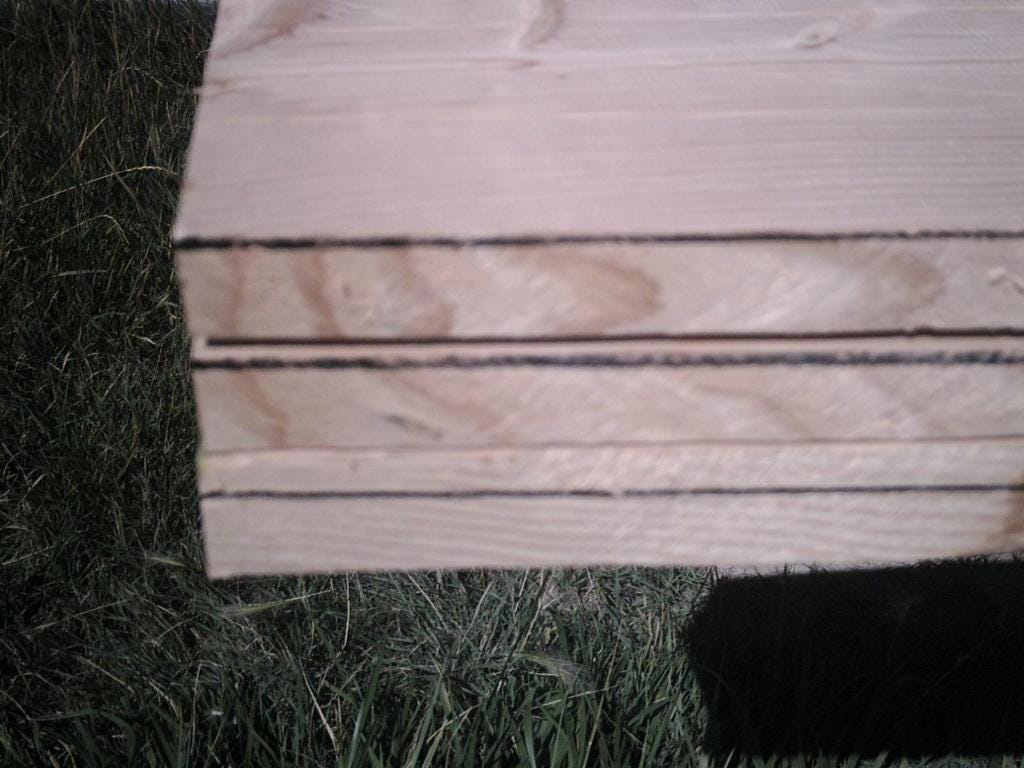
Once you have all the math worked out, then comes picking the wood that goes into a blade set.. Ideally all the wood should be the same type, age, density, and grain structure to help prevent warping, twisting, and a gross overbalanced condition.
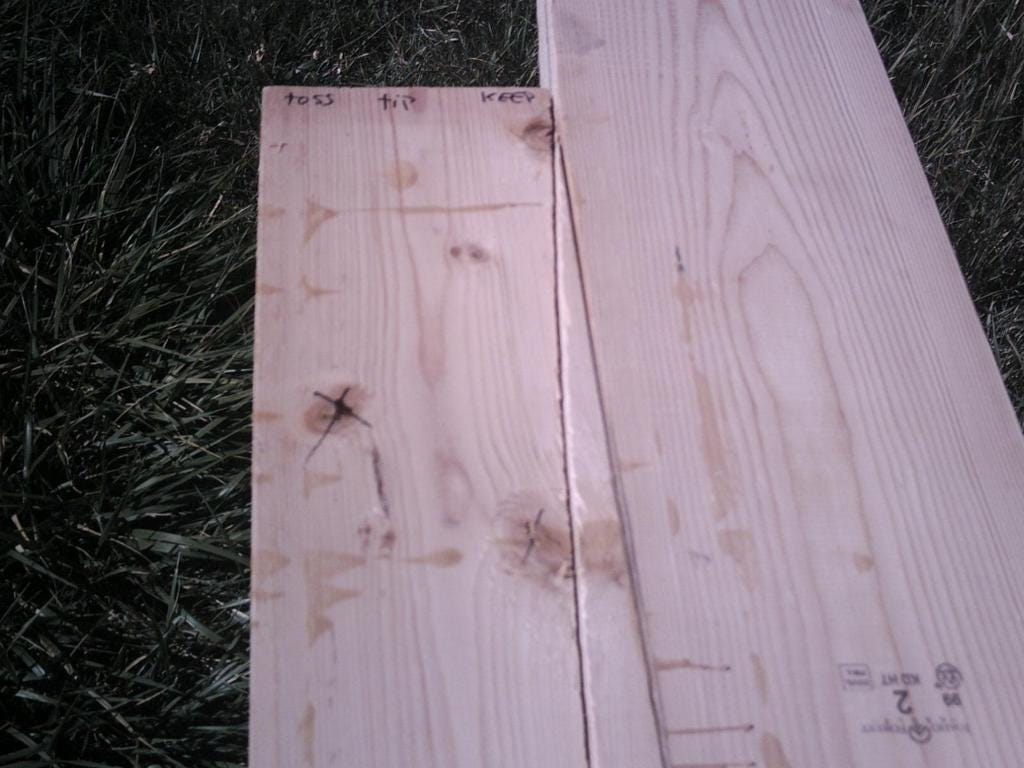
Select the boards that have a good edge all the way down one side for the leading edge.
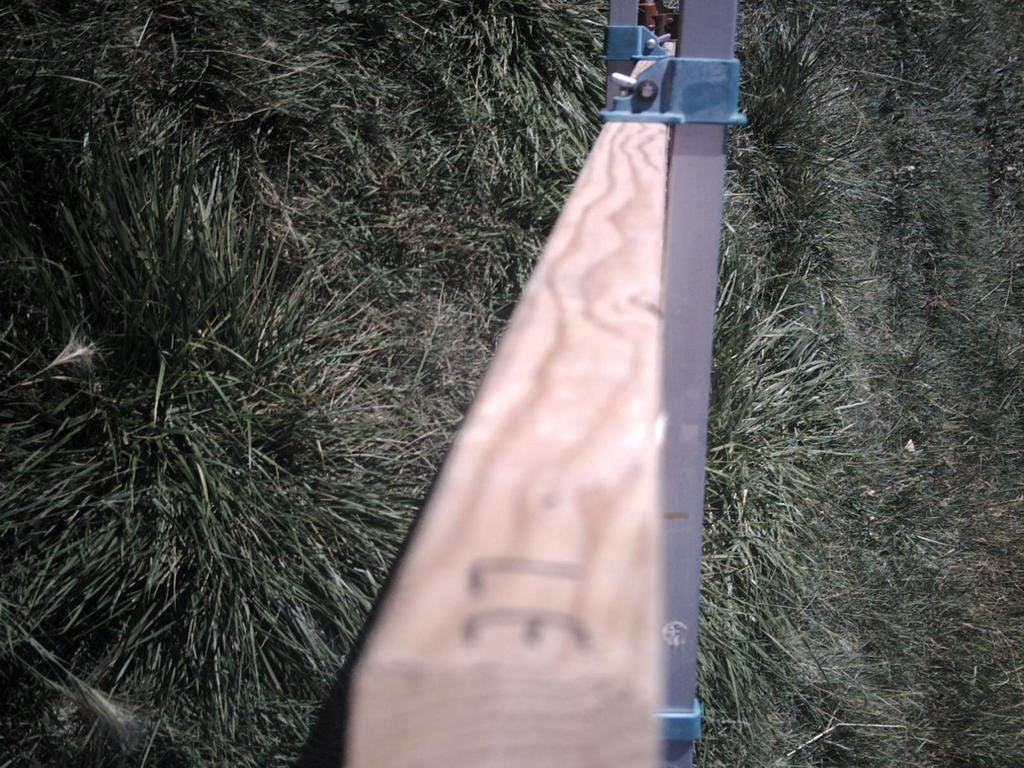
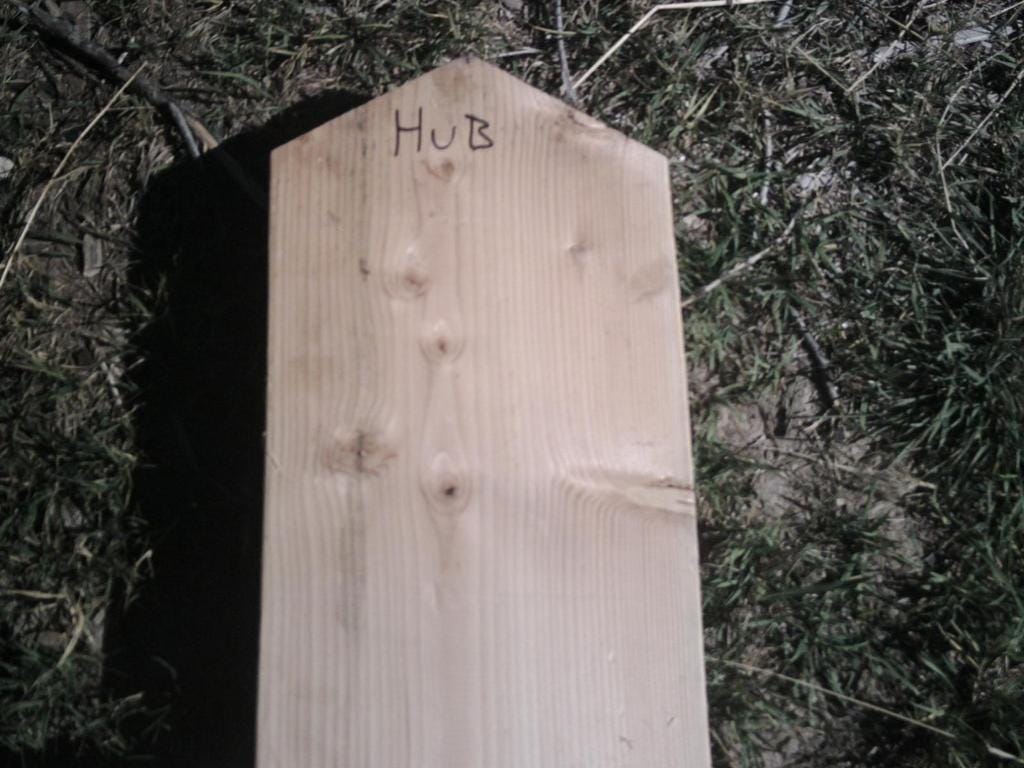
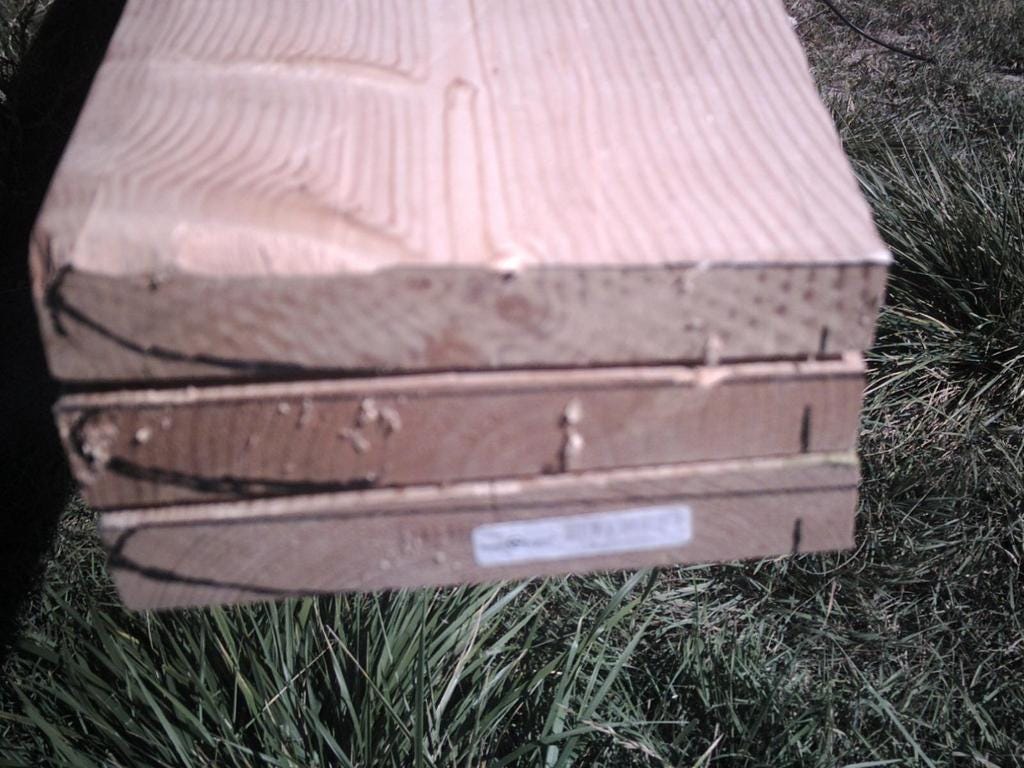
This is the edge that will have the rounded wing like curve carved into it and should have as few knots, splits, and any other damage as possible. Once you have the leading edges picked out, then you need to orient the boards so the the leading edges are all going to rotate the same way. It helps me to label one end hub and the other end tip so that the Leading Edge (LE) of each board faced the same when stacked one on top of the other.
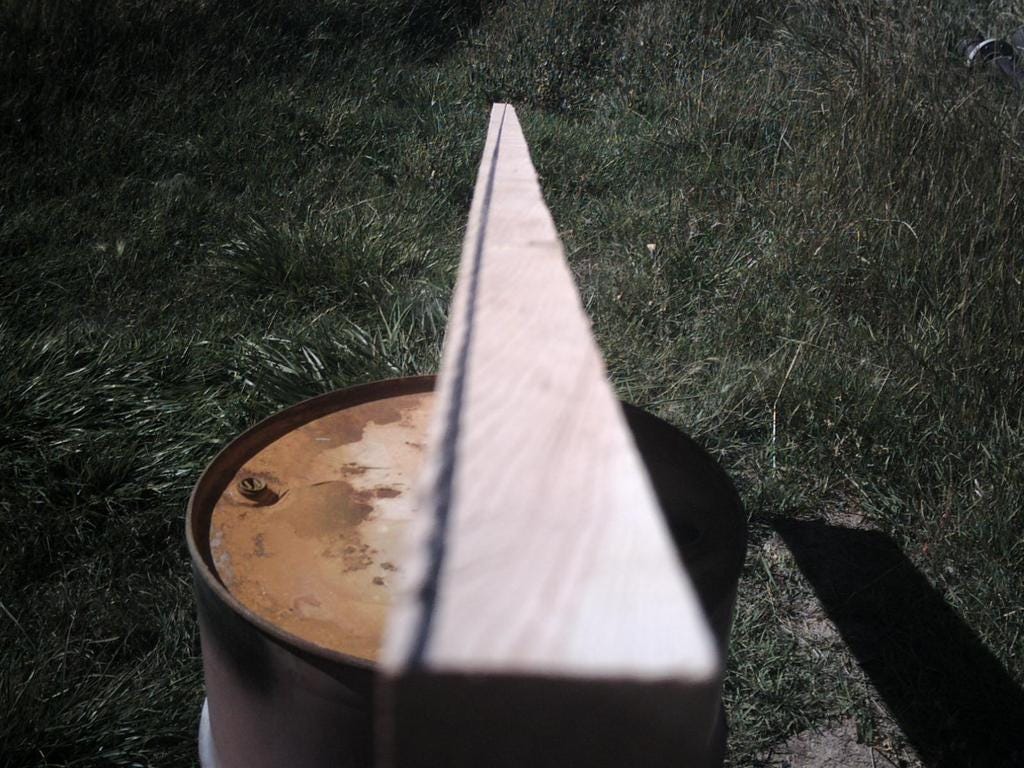
Next the hub end of the boards need to be cut to a 120 degree angle so that they will match up once they are assembled together.
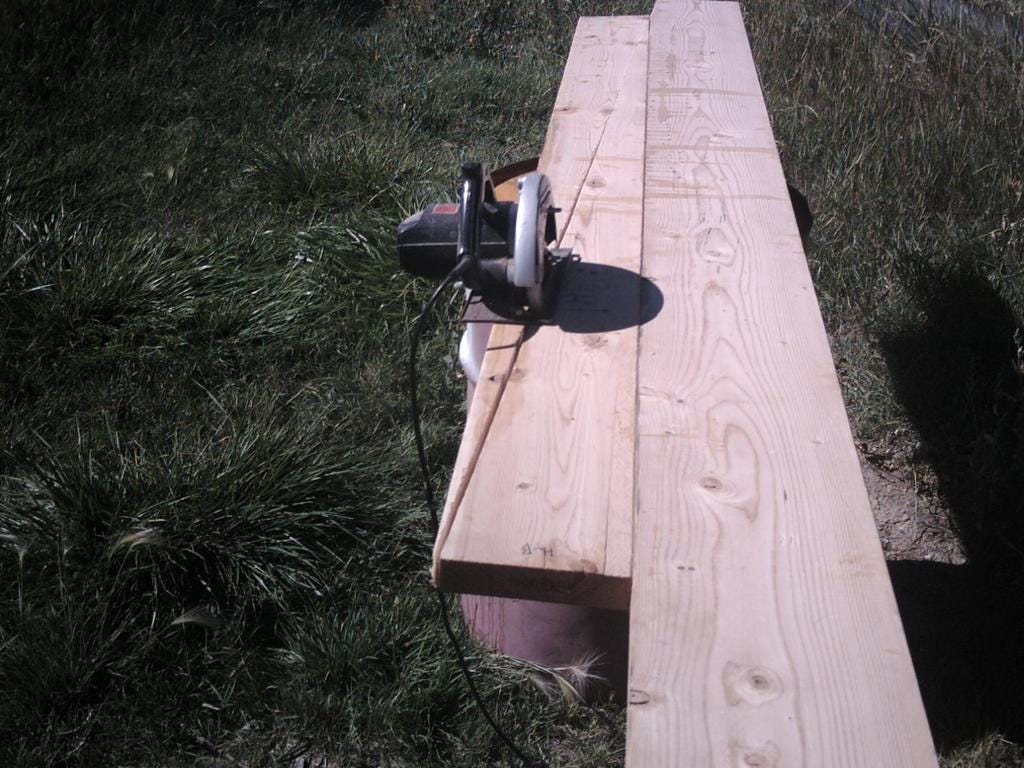
On blade sets of 4 foot to 10 foot size, I used one board but on my larger sized windmills I laminated several boards together using wood glue and clamps.
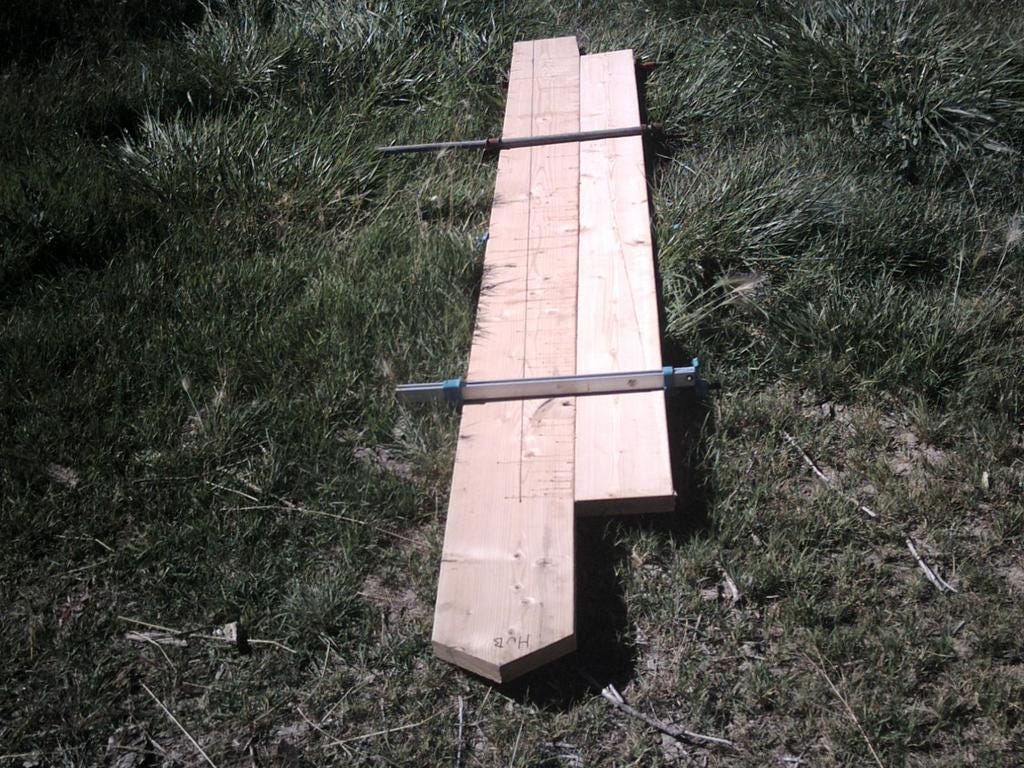
In this pic there is a line drawn down the longest board indicating where the thickest part of the blade is going to be (very little wood is to be removed along this line using most of the board thickness here). Since the blades are tapering in width and in thickness as they approach the tip the second board (the back board) doesn’t need to be as long. Partly because of the blade hub distance and partly because the tip narrows to smaller than the width of both boards. But it does need to be in pretty good shape where the trailing edge is going to be, so pick your boards so that the knots and cracks, etc are on sections to be removed, or are in sections that aren’t as critical.
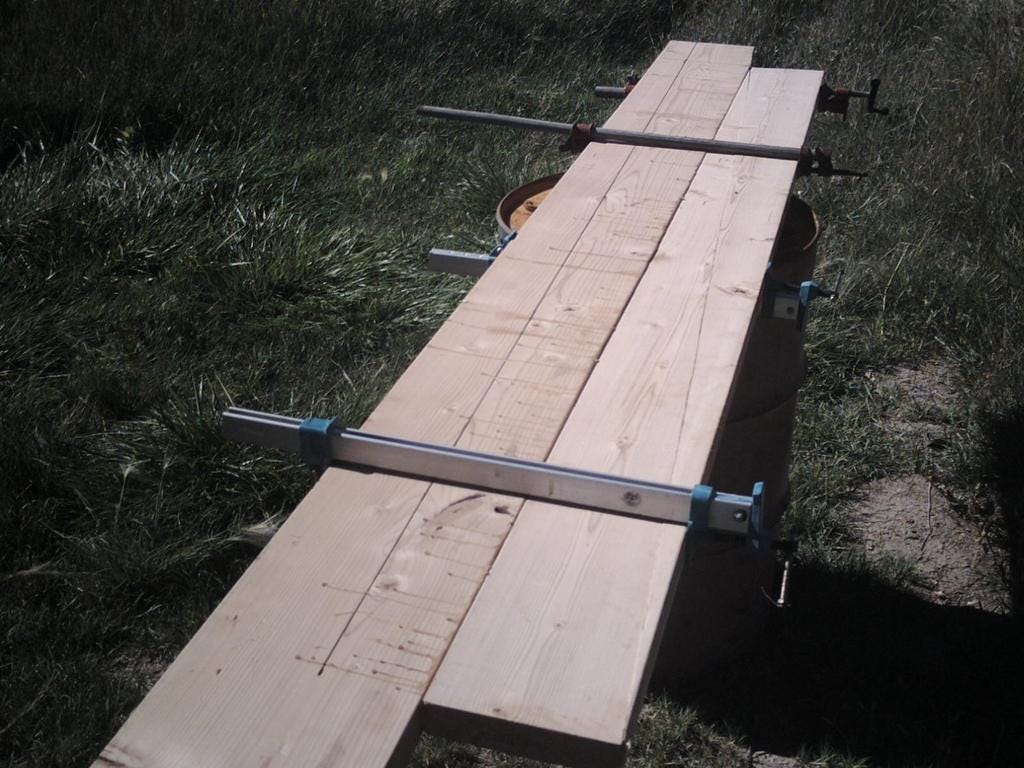
Once dry, the clamps can be removed and the width of the blade cut to shape. I used the cut off piece to be the back side board for another blade.
Make sure that you keep things organized or you end up using more wood because of errors and oversights.
I made sure that the critical edges would be free of knots and weak / extra hard spots so that carving goes smoothly.
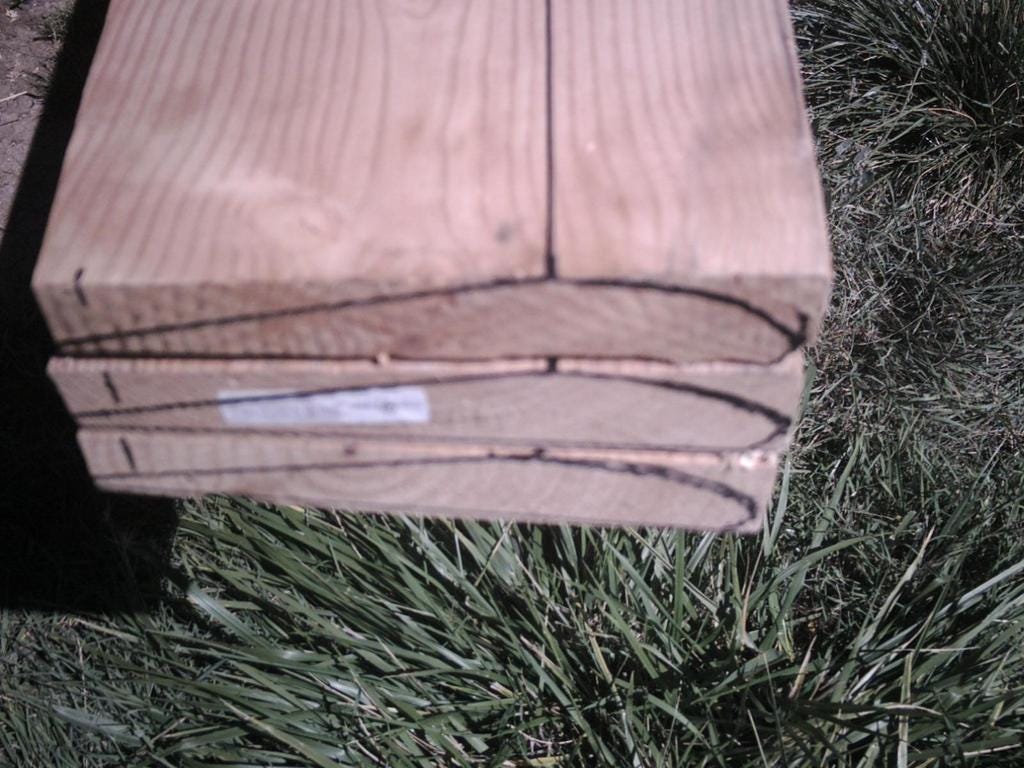
The thickness of each blade gets thinner the closer to the tip it gets. There is a ratio of tip to root thickness in the Hombrew wind turbine book. Here I marked the ending tip thickness on each board. Then by drawing a line from the root to this mark, I could then know how much wood to remove off of each blade.
Two blades cut to thickness ane to go:
This blade has been trimmed to the proper thickness and now the blade angle needs to be applied too. You can see the start of the airfoil pattern halfway drawn on the back of the blade.

Do the same to all three. Oops the planer gouged the end a little.
Here the full airfoil shape has been drawn onto the tip of the blades. No more carving should be done once those lines have been reached.
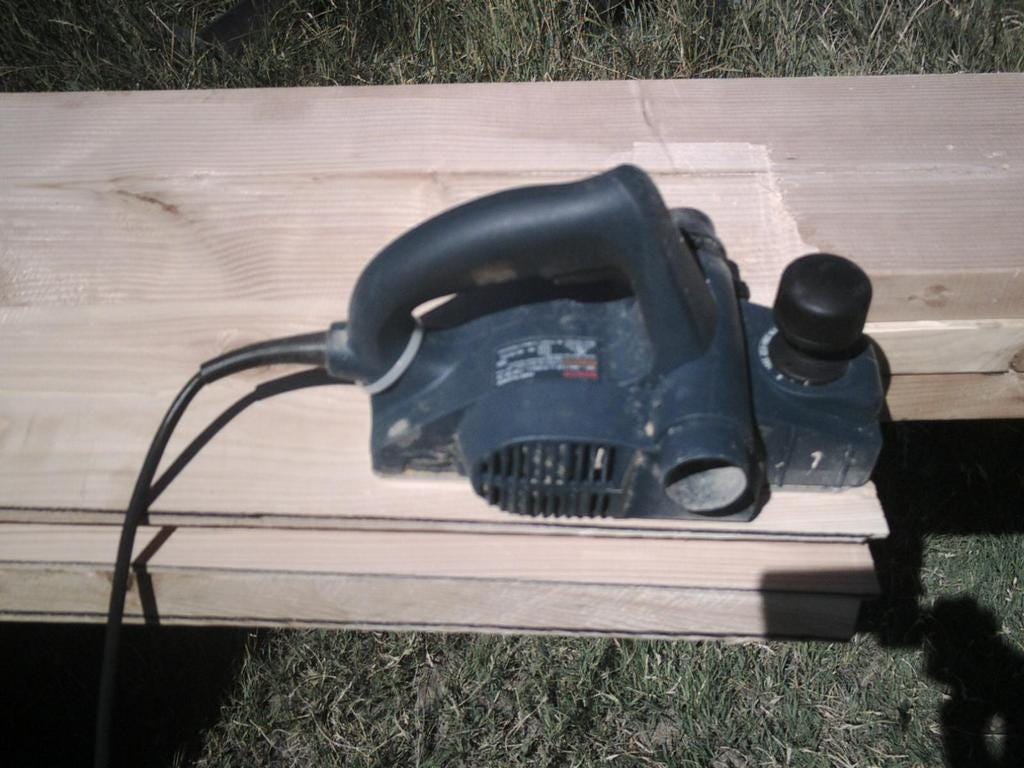
I used a hand power planer to remove the wood down to the carving guides, starting at the root, where the angle is steepest and working towards the tip.
Very soon the full airfoil takes shape into a completed blade.

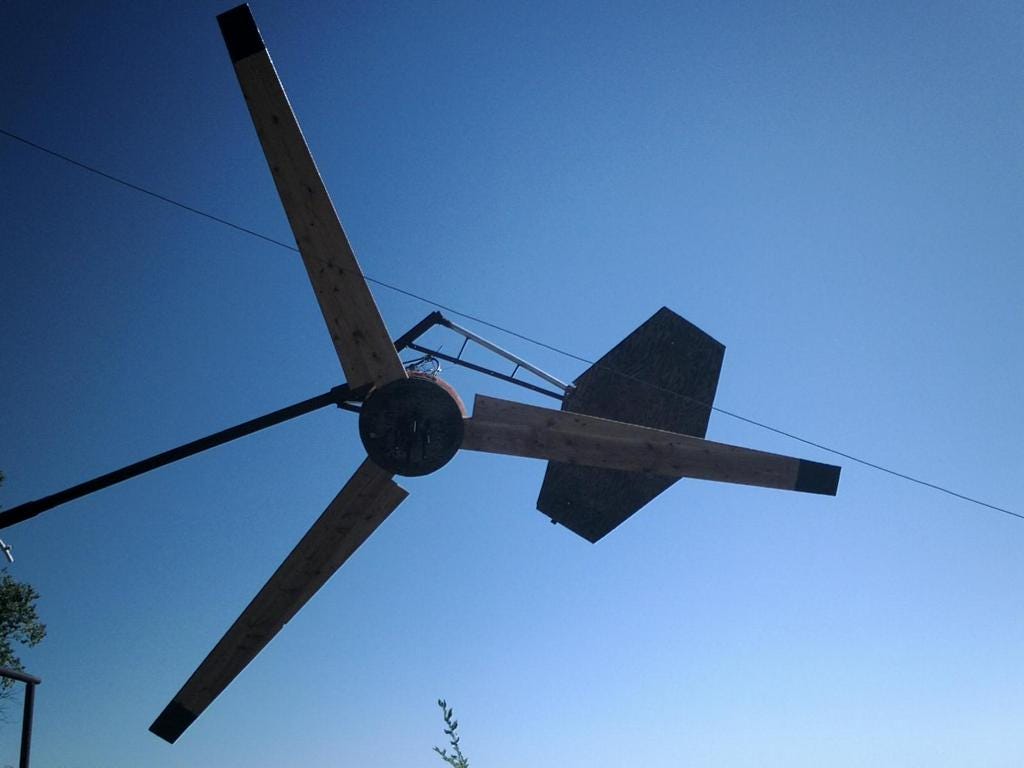
Once all three blades are carved, I then put some weatherproofing on them (not shown). and sandwiched them together using plywood disks held together with plenty of screws.
What it looks like finished.
Check back for the alternator details coming soon.